Made your way through all the previous sections? Well done! You are well on your way towards programming for the robotics team, not to mention being able to program an Arduino for yourself and any side projects you want to tackle!
In this section we are going to use the temperature sensor from the kit, and more importantly than that we are going to learn about something called the serial monitor.
You already understand that your Chromebook is sending your code into your Arduino board over the USB cable, but that is not all that the USB connection is good for. The Arduino can actually send messages and data back to your Chromebook over the USB cable as well. This capability is what we are going to leverage to get the temperature readings from the sensor back to your Chromebook. This way we don’t have to hook up an LCD screen to the Arduino just to get some readings from a sensor.
Lets start with the usual steps, download the pages from chapter 9 of the starter kit tutorial here and load up the code below:
Code:
#include "DHT.h"

#define DHTPIN 2     // what pin we're connected to

#define DHTTYPE DHT11   // DHT 11 (there are other types we could be using, such as DHT22)

// Initialize DHT sensor for normal 16mhz Arduino
DHT dht(DHTPIN, DHTTYPE);

void setup() {
  Serial.begin(9600);
  Serial.println("DHTxx test!");

  dht.begin();
}

void loop() {
  // Wait a few seconds between measurements.
  delay(2000);

  // Reading temperature or humidity takes about 250 milliseconds!
  // Sensor readings may also be up to 2 seconds 'old' (its a very slow sensor)
  float h = dht.readHumidity();
  // Read temperature as Celsius
  float t = dht.readTemperature();
  // Read temperature as Fahrenheit
  float f = dht.readTemperature(true);

  // Check if any reads failed and exit early (to try again).
  if (isnan(h) || isnan(t) || isnan(f)) {
    Serial.println("Failed to read from DHT sensor!");
    return;
  }

  // Compute heat index
  // Must send in temp in Fahrenheit!
  float hi = dht.computeHeatIndex(f, h);

  Serial.print("Humidity: ");
  Serial.print(h);
  Serial.print(" %\t");
  Serial.print("Temperature: ");
  Serial.print(t);
  Serial.print(" *C ");
  Serial.print(f);
  Serial.print(" *F\t");
  Serial.print("Heat index: ");
  Serial.print(hi);
  Serial.println(" *F");
}
Like with the passive buzzer, you will notice at the top of the code that we are using a library to help us use the sensor. Thanks to this library we do not have to read and interpret the raw bits of data the sensor puts out. This makes things easier for us and keeps our code neat and tidy, and easier to understand.
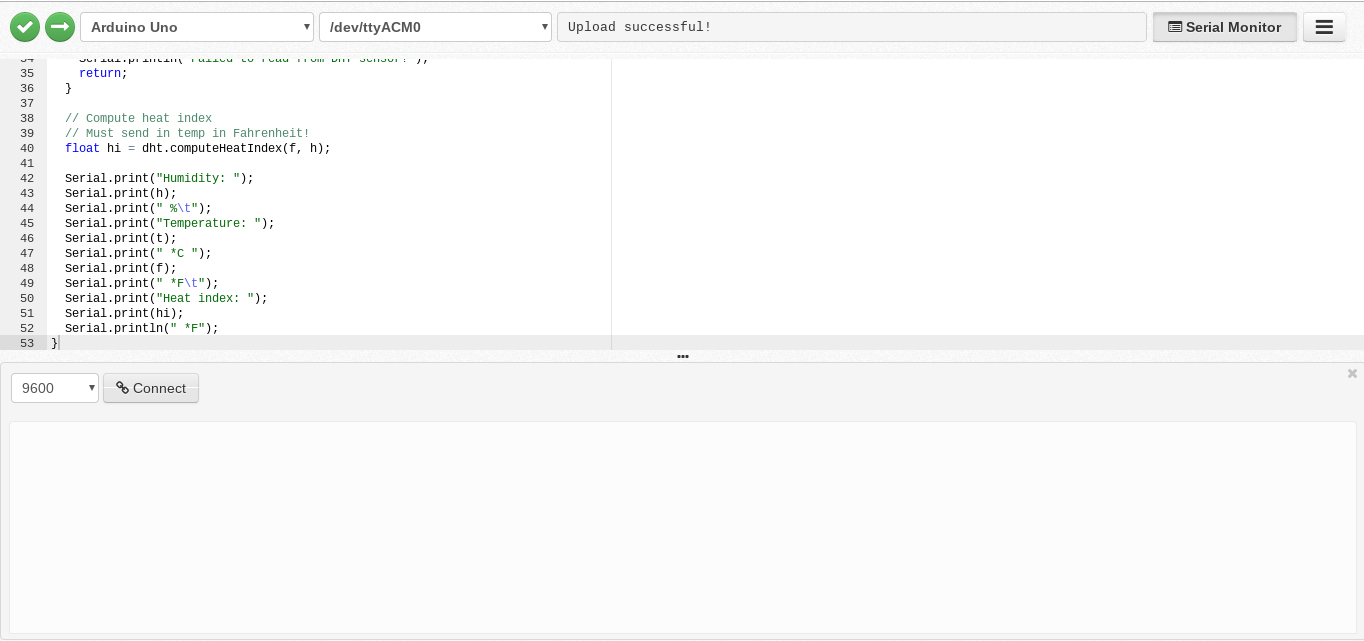
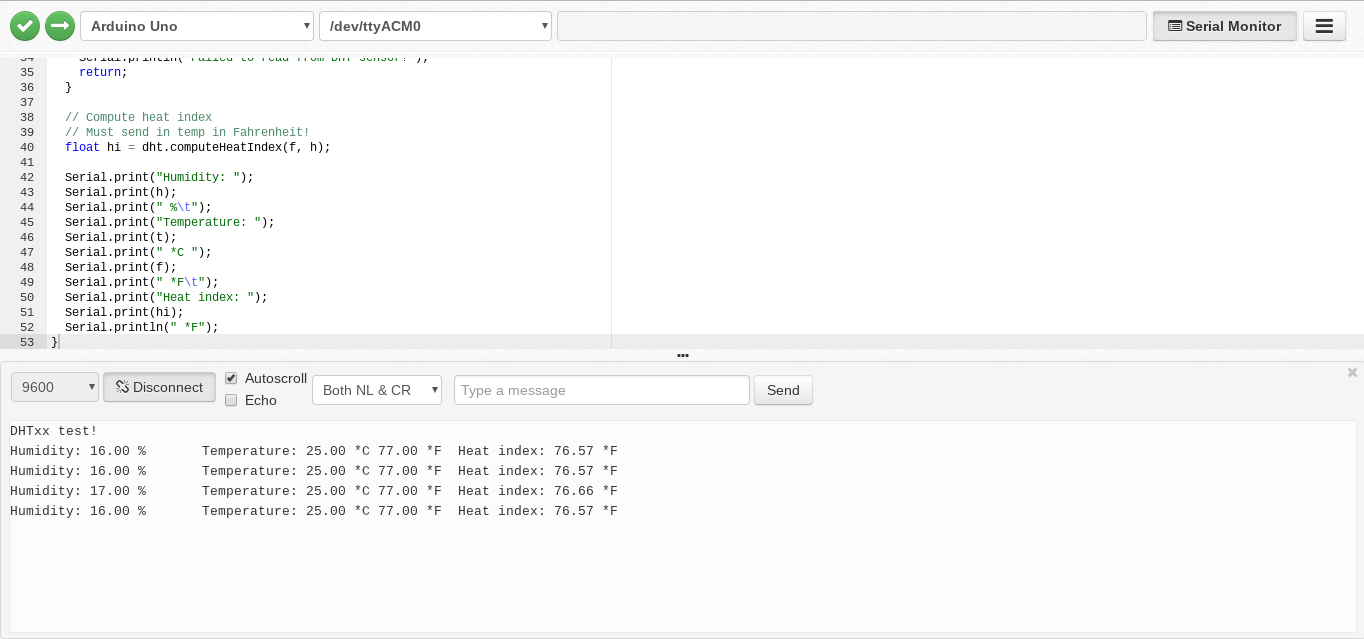
Opening the serial monitor is slightly different in codebender than it is for the IDE used in the tutorial, but its still very easy. Click on the “Serial Monitor” button in the upper right-hand corner of the codebender page and then click on “Connect” in the window that opens up in the lower half of the page.


Once successfully connected the serial monitor will start displaying the messages that your Arduino code is sending back over the USB cable, as shown above.
Note that in our setup function we have to initialize the usage of the serial monitor with “Serial.begin(9600);” This sets up the serial connection to send data back to the Chromebook.
Try playing around with the code to change the output coming back to the serial monitor. Try putting the temperature first, and then the humidity. Try removing the heat index portion (what is that anyways?)
Notice that in the serial monitor there is a box where you can type and send a message back to the Arduino. Yes, this is a two-way communication street. It is possible to do things such as turning an LED on and off by sending a message over the serial interface, and sometimes this is easier than wiring in a button.
The serial monitor is very handy for sending back complex data that is difficult for the Arduino to display without a screen, and also handy for debugging code to find problem spots.
Not every type of code and chip you will ever use will communicate via a serial interface, but most will have some kind of text output that will be similar to this which you can use to read and debug data.
When you are done with this section we can make our way to the next part, in which we get to use one of my favorite components: the servo motor.
