As of this writing, the vast majority of Arduino tutorials assume you have a windows or mac computer running the IDE provided by Arduino itself. The students I work with are issued Chromebooks by the school, so the first thing we need to address is how to work with Arduino code in a Chromebook and how to program our Arduino board from the same.
codebender to the rescue!
There is more than one way to program an Arduino board from a Chromebook. The tool I have chosen for our purposes is codebender, an online IDE that works with Chromebooks (and almost any other device that can browse the internet). I’m going with codebender because they have a special education version that makes it even easier to get the students the tools they need without any installation process or complicated setup. Many props to them for providing this tool for our use (I mean, its not free, but I’m still glad they provide it!)
If you are not a student you can use the regular version of codebender. There is a free trial you can get started with to see if you like it, if you don’t feel free to google around for other Arduino IDE tools that work on ChromeOS. The tutorials I’m writing should work with just about any IDE you can find.
STUDENTS: To access the codebender tool from your Chromebook you will need a special link we will provide either in-person or via email/Discord. Make sure you have received this link and are able to open the codebender tool before proceeding. Contact a coach or mentor if you have any issues or still need to get the link.

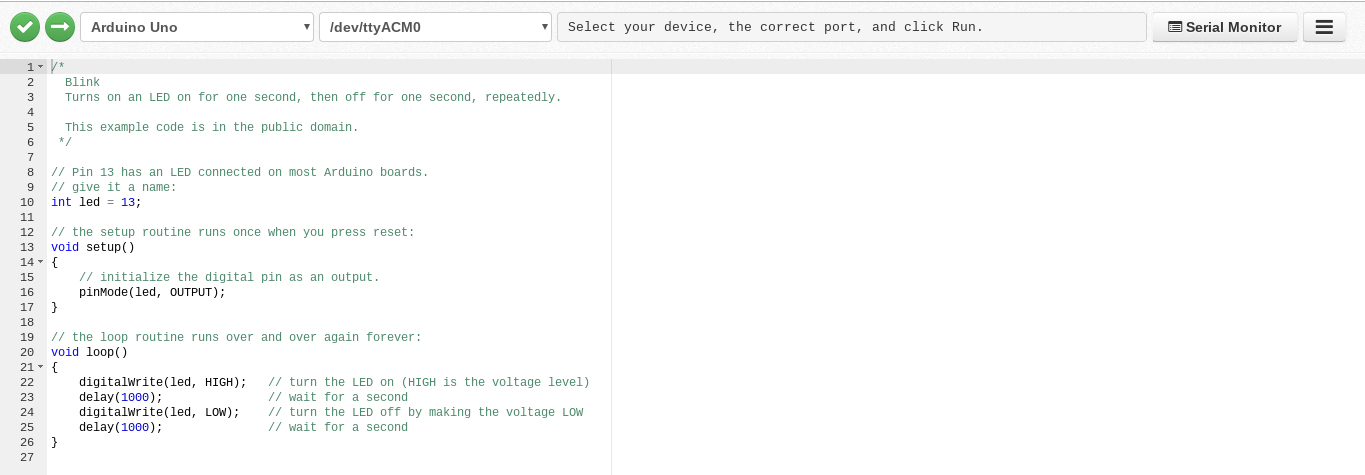
If the link is working for you (or if you are using the regular version of codebender) you should find yourself on a page that looks like the screenshot above. Basically a blank code window ready to use to write code for our Arduino board.
The first thing you will want to do is install the codebender plugin for Chrome. This is what allows the online code editor to detect and push code to your Arduino board.
If you are opening the tool for the first time, there should be a grey bar at the top with a link to click on that will take you to the plugin page. At this time I don’t know for certain if there will be any blocks or issues with that on a student device, talk to your coach or mentor if you run into any issues at this step.
The next thing you will want to do is set the correct board in the upper-left menu.
Almost every Arduino starter kit comes with an Arduino Uno, so most likely this is what you will need to select here:

If you are using any other board (such as a Nano), choose the board that matches whatever you are using.
Next we’re going to load up a little bit of sample code and see if we can get it onto our board. We’ll dive into exactly what this code does in a little bit, but for now lets just see if we can get the code from our Chrombook into the Arduino board.
Open the hamburger menu in the upper-right-hand corner of the editor, hover over “Load Example” and select the “Blink” menu option within. The sample code for the “Blink” sketch should get loaded into the editor window:


Now, in the upper left we have two green buttons that do two important things for us.
“Verify Code”:

This button is used to compile your code and check it for syntax errors. You can click on this button and you should see a message in the grey bar to the right that says “Verification Successful”
And the other button, “Run on Arduino” will actually send your code to your Arduino board.

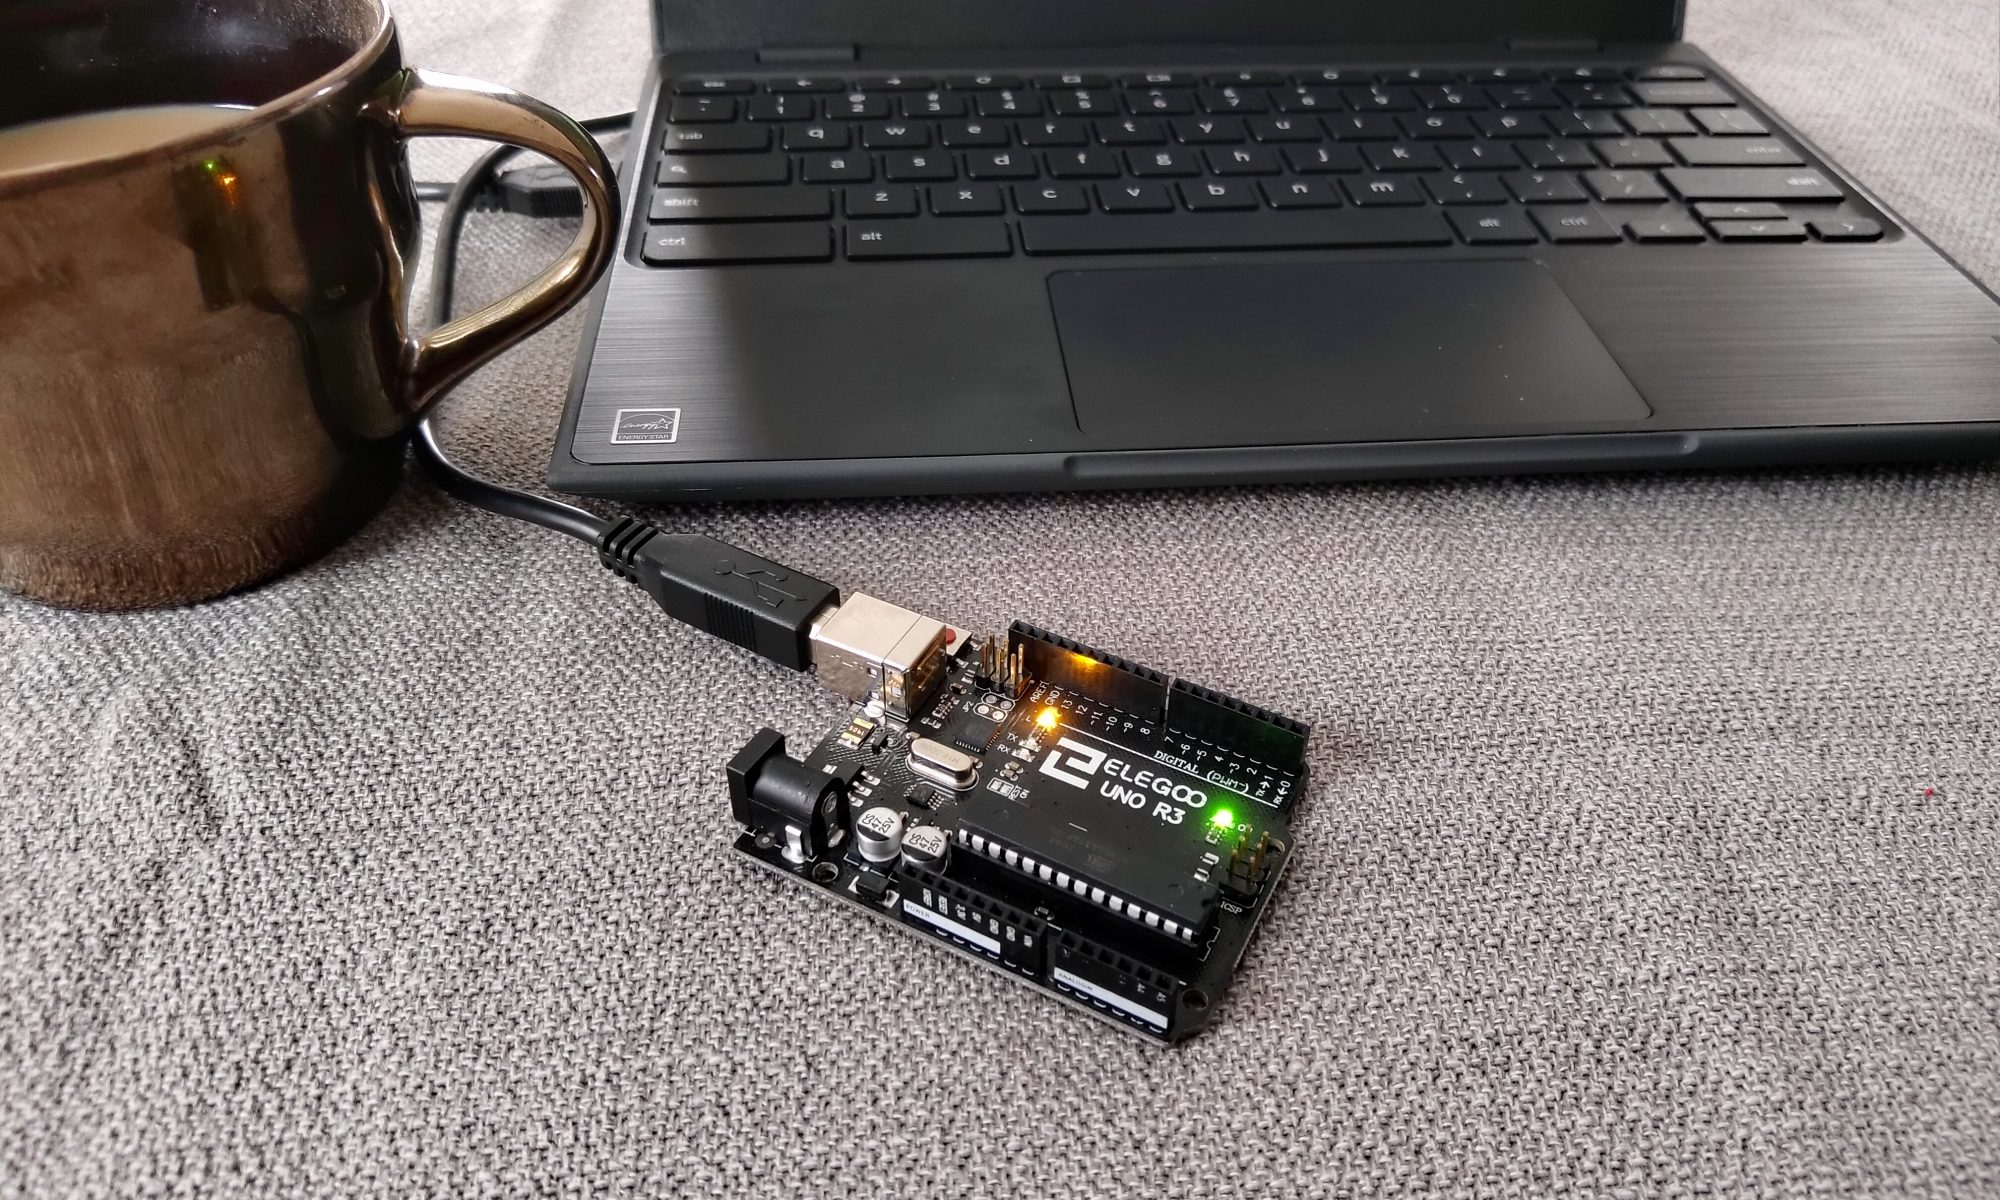
There is more than one way to do this, but typically we will be programming our boards over a USB cable. Make sure your Arduino board is connected to your Chromebook’s USB port and try to send the “Blink” code to your Arduino now.
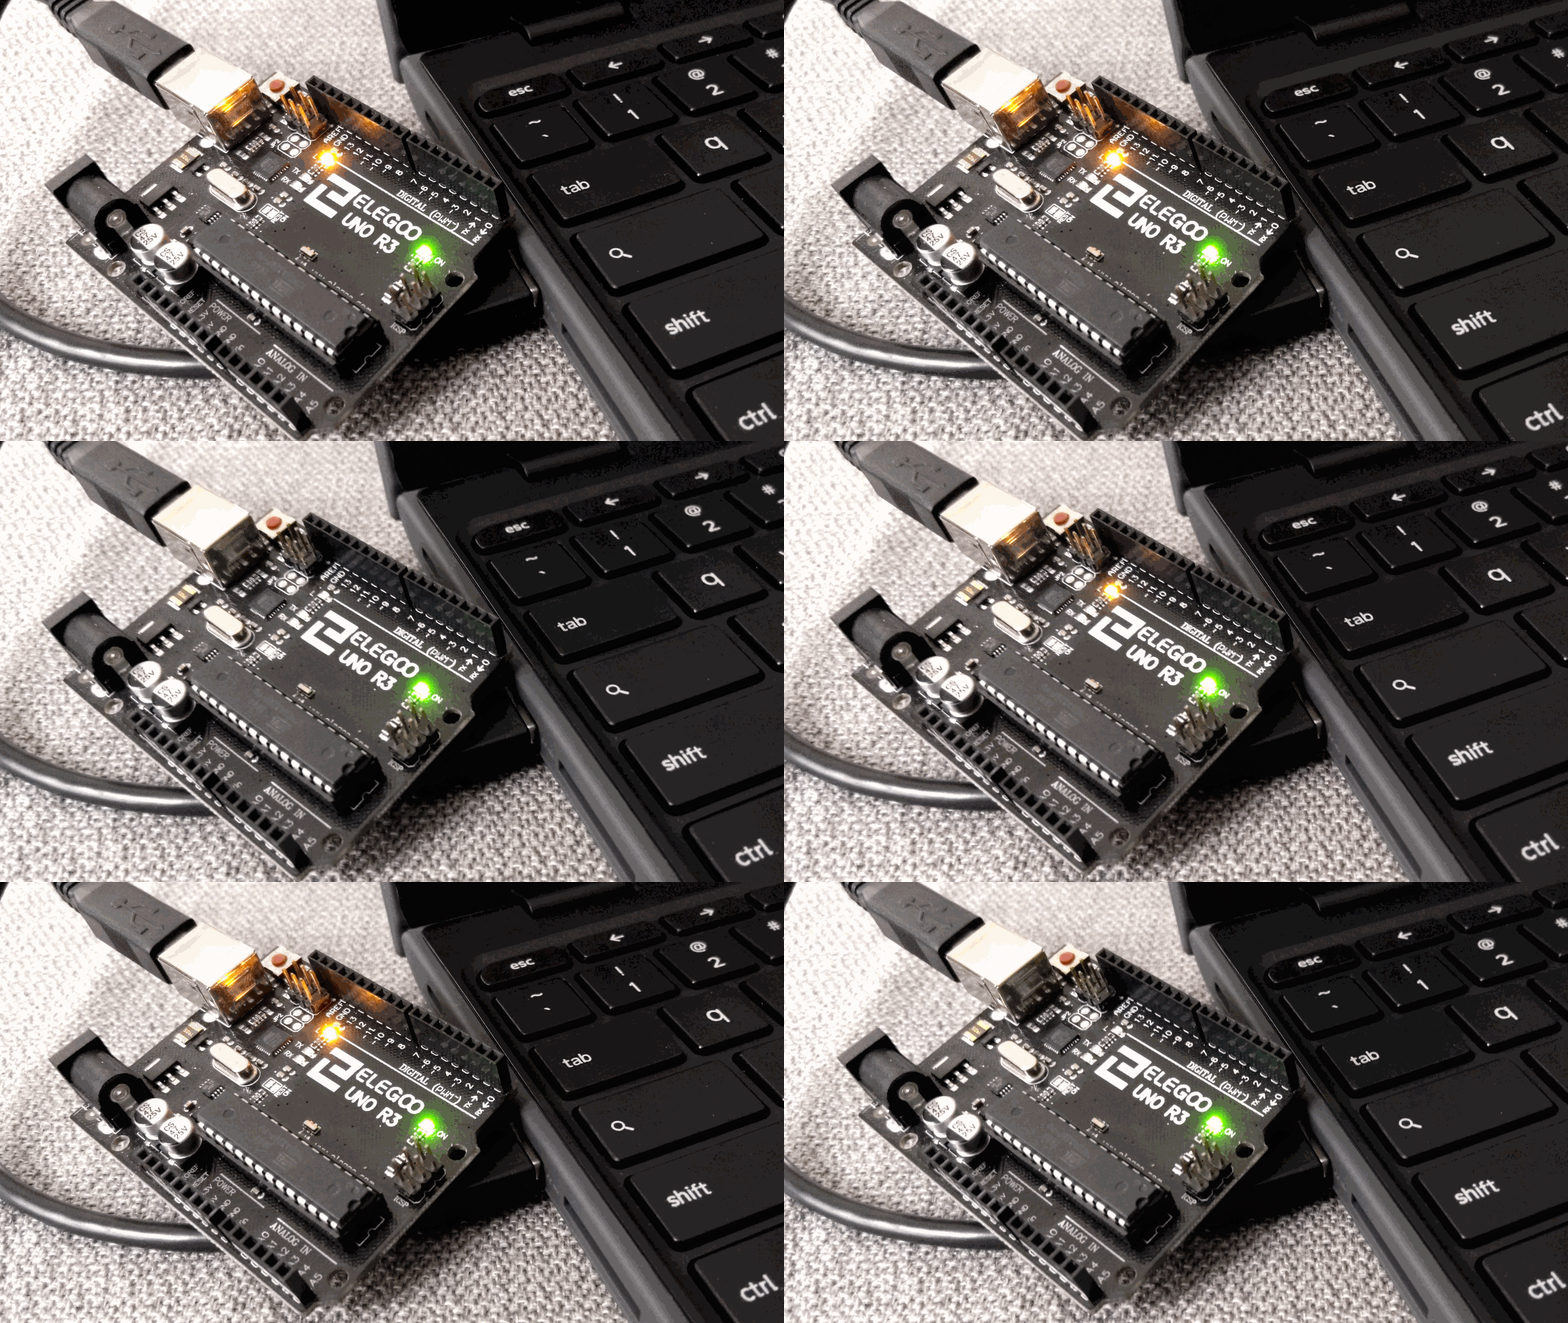
If this works, the message in the grey bar at the top will say “Upload successful!” and the orange or yellow LED light on your Arduino Uno board will begin to blink slowly:

If this is working then our programming tools are set and you are ready to move on to the Arduino code tutorials in the next sections. If you are stuck with some kind of error and the code won’t upload to your board, you can reach out to a couch or mentor for help and/or try googling the issue a bit and see if you can find a solution (especially if its going to be a while before a coach or mentor can check out your setup.)
In the next section we will take a closer look at the “Blink” sample code to learn more about what it does and how it works.

