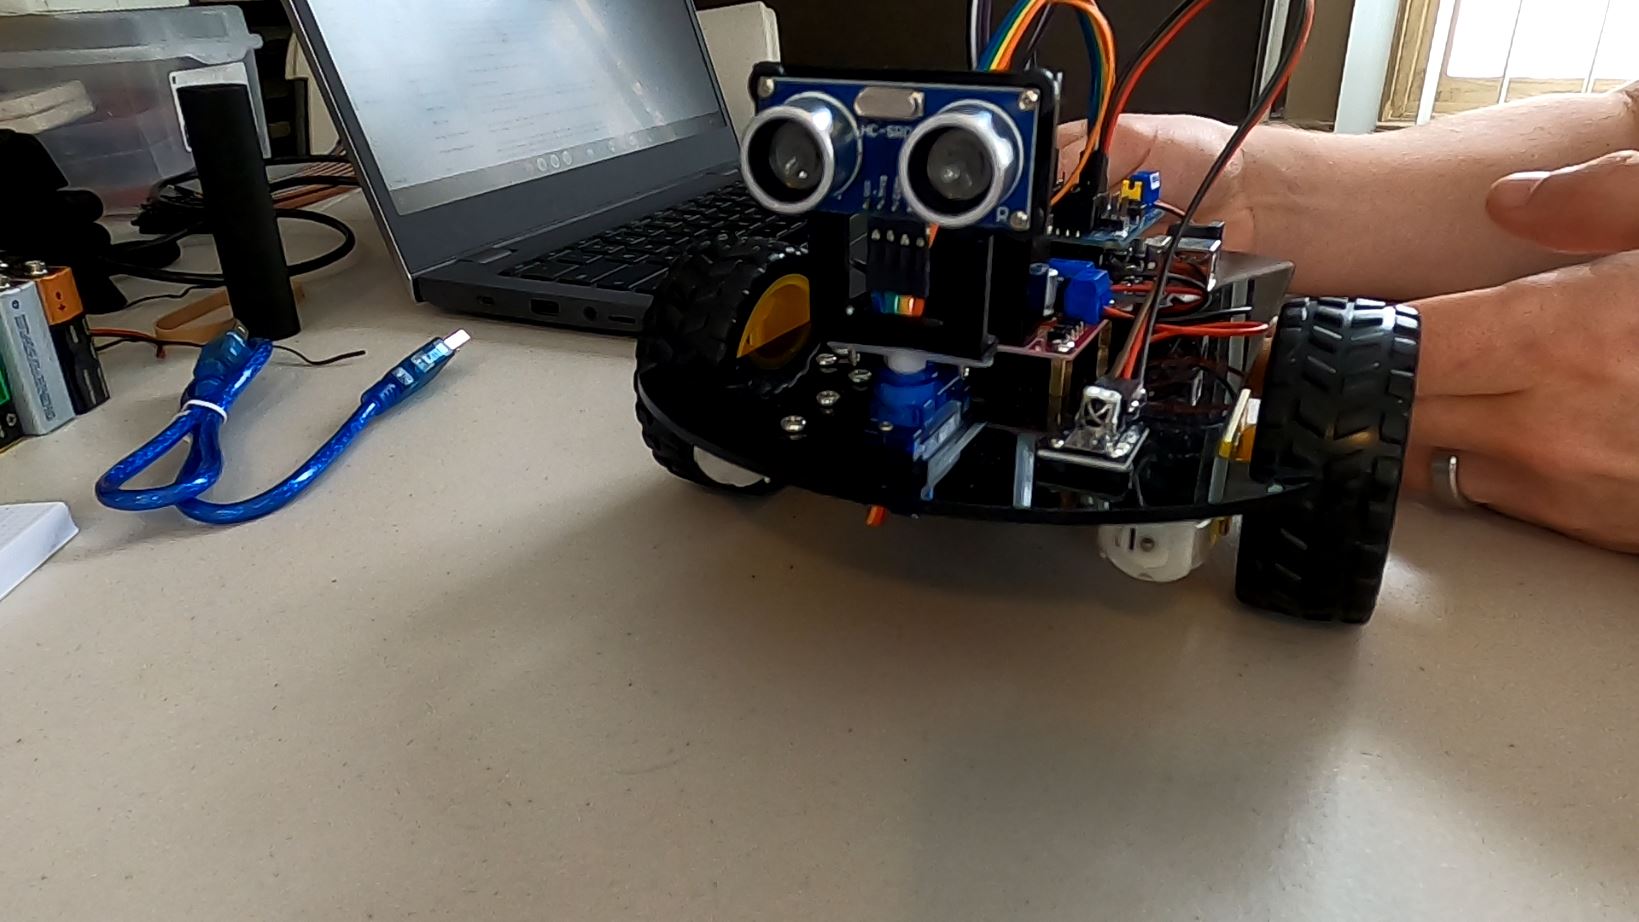
If you’ve chomped your way through the entire Arduino Starter Kit (or, done a majority of it) then you are probably itching to build something more complex and substantial. If you are also one of the students who got into this through the robotics team then you are definitely ready to put some wheels on something and watch it go!
Well good news, there is another Arduino kit for that! The same company that makes my favorite affordable Arduino starter kit also makes an affordable two-wheel-drive Arduino robot kit. If you are on our robotics team and progressing through as a dedicated programmer we may be able to provide this kit to you directly, if you are any other kind of site visitor you can find the kit on amazon and have one at your door in a couple days for $30 or less.
I purchased one of these kits for myself and put it together at home but I didn’t really take any photos along the way.. Even if I had, a lot of it would be fairly mundane steps that are already mostly covered in the instructions that come with the kit. Yes, the instructions are bad just like they were in the starter kit, and yes, thats why I have this website to try to provide better help with these things BUT if you’ve made it this far you should be getting to the point where you can fill in some of the blanks yourself and not need everything completely spoon-fed to you.
So instead of having the next umpteen posts cover the assembly of the robot in agonizing detail I am going to give you a video or two showing the completed robot with a bunch of tips and advice from what I learned putting mine together. Its not terribly difficult but there are some frustratingly tiny screws and bolts to deal with and I can almost promise you that you will have to take some parts of it apart a couple times before you get it together properly. This experience will build your skills and by not spoon-feeding it to you will help you think for yourself and become more independent.
That being said, the included instructions are baaaaad bad bad. The pictures of the completed robot helped me the most. Most of the wiring diagrams are goofy, there isn’t really one that accurately shows wiring of the entire robot, I had to piece mine together from a bunch of different parts of the booklet. With that in mind I will draw up my own wiring diagram to try to help out in that area (someday, maybe…)
If you’ve already done a complete starter kit I’d recommend recommend you build and assemble the entire robot first, then do the component wiring, then figure out how you are going to power it (more notes on that later), and then load up the code and see how it goes. If you didn’t finish the starter kit, or skipped a bunch of it… maybe its worth doing the intro lessons on the robot parts before trying to put the entire thing together. You don’t want to end up with a bunch of gaps in your knowledge and understanding.
Scroll down to find the video showing the assembled robot with the tips and tricks I learned from putting it together.
Oh, but one more thing. If you are just now ordering your kit, you should also order up some of the special 18650 batteries it takes to run it. You need two of those batteries, plus a way to charge them, and you might even need a CR2032 battery for the IR remote in the kit. Yep, that’s right, virtually no batteries included. Sorry! (If you are one of our students we will probably supply the batteries)
Robotics Students with ChromeBooks:
The full instruction book starts out with 45 pages just covering installation and setup of the Windows/Mac OS IDE, which is not applicable to your ChromeBooks where we use CodeBender instead. I have broken the instructions up into two sections, both of which skip the installation of the Windows Arduino IDE. If you are using a Windows or a Mac computer you can scroll down to the bottom find a link to the full/complete instruction book.
Instruction Manual Excerpts for Robotics Students with ChromeBooks:
Code:
*Requires “Servo.h”*Requires “SR04.h”
*Requires “IRremote.h”
*Requires “IRremote.h”

